# OpenFlare
**[📖 English](./README.md) | [中文](./README.zh-CN.md)**
A lightweight, self-hosted control plane for OpenResty that manages reverse proxy rules, configuration releases, node synchronization, TLS certificates, and observability.
> [!WARNING]
> After the first login with the `root` user, you **must** change the default password `123456`.
>
> This BETA version is a temporary product in the development and testing phase. It may contain unknown issues and should not be used in production environments.
## Documentation
**https://open-flare.pages.dev**
Quick links:
* [Quick Start](https://open-flare.pages.dev/guide/quick-start)
* [Deployment Guide](https://open-flare.pages.dev/reference/deployment)
* [Configuration Reference](https://open-flare.pages.dev/reference/configuration)
* [System Design](https://open-flare.pages.dev/design/)
## Core Features
* **Reverse Proxy Configuration**: Website management and multi-domain binding
* **Configuration Lifecycle**: Preview, release, activation, and historical rollback
* **Agent Management**: Auto-registration, heartbeat, sync, validation, reload, and failure rollback
* **OpenResty Administration**: Main configuration, performance tuning, caching, and Lua resource hosting
* **WAF Protection**: Global and custom rule groups with IP/CIDR and geographic blacklist/whitelist
* **Certificate Management**: TLS certificates, domain assets, node credentials, and version control
* **Observability**: Request aggregation, access analytics, resource snapshots, health events, and node metrics
## Quick Start
### 1. Launch Server
```yaml
services:
postgres:
image: postgres:17-alpine
restart: unless-stopped
environment:
POSTGRES_DB: openflare
POSTGRES_USER: openflare
POSTGRES_PASSWORD: replace-with-strong-password
volumes:
- postgres-data:/var/lib/postgresql/data
healthcheck:
test: ["CMD-SHELL", "pg_isready -U openflare -d openflare"]
interval: 10s
timeout: 5s
retries: 5
openflare:
image: ghcr.io/rain-kl/openflare:latest
restart: unless-stopped
depends_on:
postgres:
condition: service_healthy
ports:
- "3000:3000"
environment:
SESSION_SECRET: replace-with-random-string
DSN: postgres://openflare:replace-with-strong-password@postgres:5432/openflare?sslmode=disable
GIN_MODE: release
LOG_LEVEL: info
volumes:
postgres-data:
```
```bash
docker compose up -d
```
Access at: `http://localhost:3000`
Default credentials:
* Username: `root`
* Password: `123456`
### 2. Install Agent
Before installing an Agent, install OpenResty on the target node, or use the Docker image with OpenResty built-in.
You can copy the installation command from the Dashboard → Node Management → Details → Node Info, or use the script below:
#### Docker Deployment
```bash
docker pull ghcr.io/rain-kl/openflare-agent:latest
docker rm -f openflare-agent 2>/dev/null || true
docker run -d --name openflare-agent --restart unless-stopped \
-p 80:80 -p 443:443 \
-e OPENFLARE_SERVER_URL=http://your-server:3000 \
-e OPENFLARE_AGENT_TOKEN=YOUR_AGENT_TOKEN \
ghcr.io/rain-kl/openflare-agent:latest
```
#### Local Installation
Using `discovery_token`:
```bash
curl -fsSL https://raw.githubusercontent.com/Rain-kl/OpenFlare/main/scripts/install-agent.sh | bash -s -- \
--server-url http://your-server:3000 \
--discovery-token YOUR_DISCOVERY_TOKEN
```
Using node-specific `agent_token`:
```bash
curl -fsSL https://raw.githubusercontent.com/Rain-kl/OpenFlare/main/scripts/install-agent.sh | bash -s -- \
--server-url http://your-server:3000 \
--agent-token YOUR_AGENT_TOKEN
```
The installation script defaults to `/opt/openflare-agent`, creates a `openflare-agent.service`, auto-detects `openresty`, and supports re-execution for upgrades.
### 3. Uninstall Agent
To completely uninstall the Agent and clean local data:
```bash
curl -fsSL https://raw.githubusercontent.com/Rain-kl/OpenFlare/main/scripts/uninstall-agent.sh | bash
```
The uninstall script stops and removes the `openflare-agent.service`, deletes the `/opt/openflare-agent` directory, and does not remove OpenResty.
### 4. Deploy Your First Configuration
1. Log in to the dashboard and create a reverse proxy rule
2. Preview changes or view the changelog before publishing
3. Activate the new version
4. Agents receive notifications via WebSocket or pull configuration on next heartbeat
Versions are immutable with format `YYYYMMDD-NNN`. Rollback is performed by reactivating a previous version.
## UI Preview
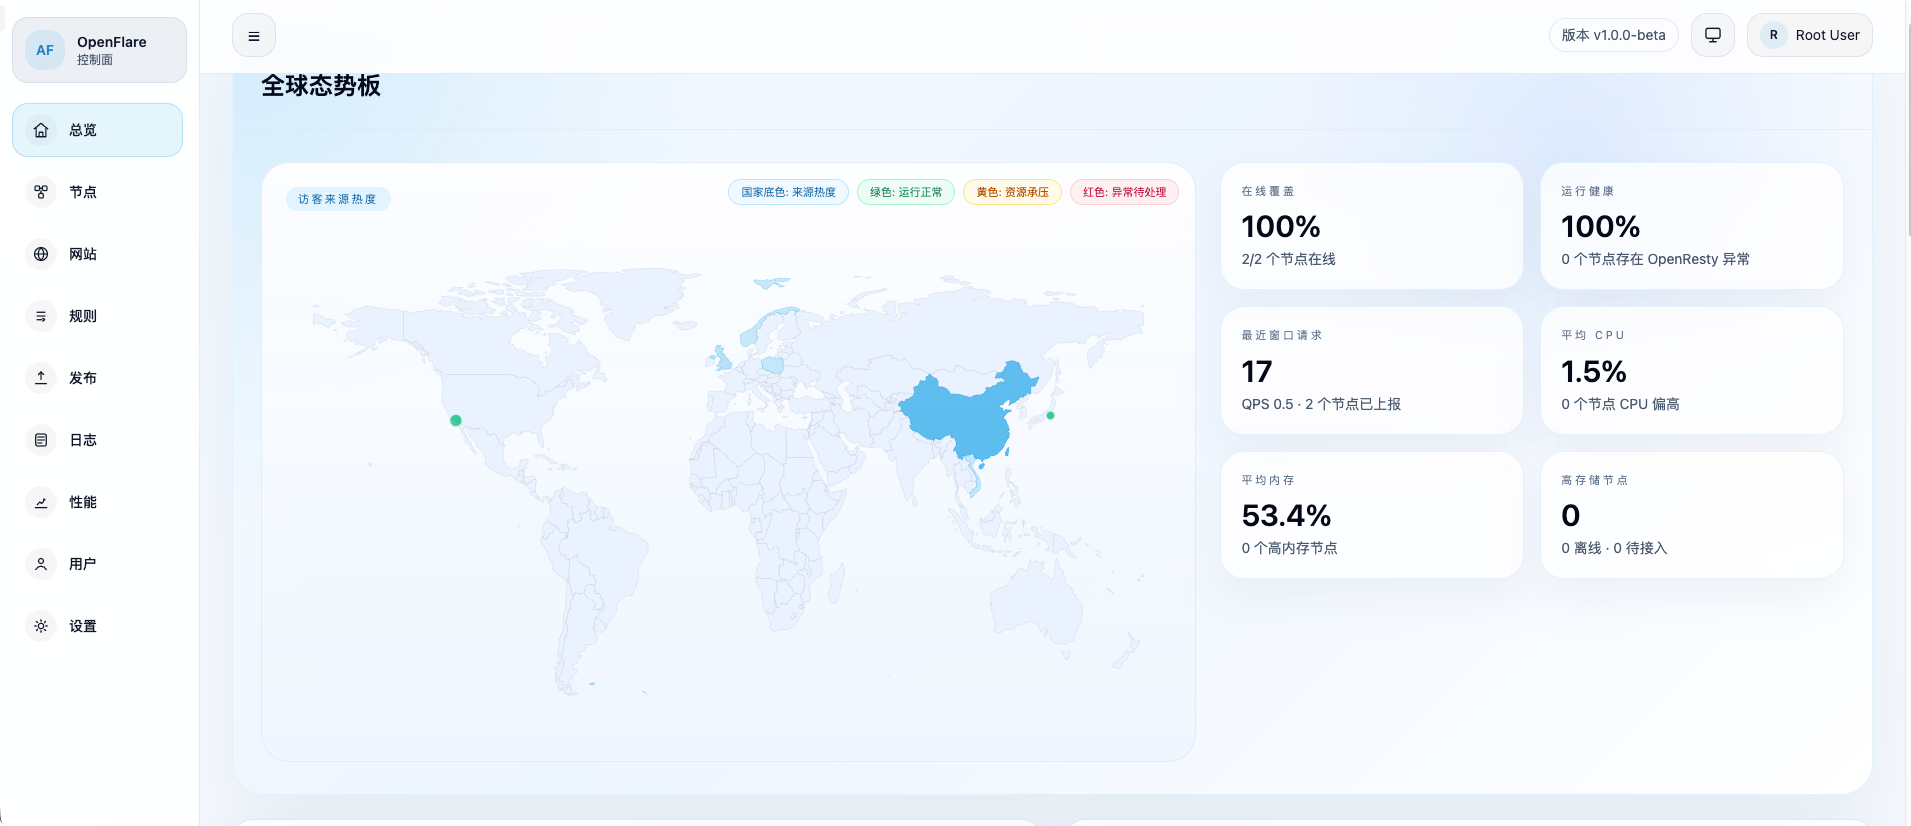
### Dashboard Overview
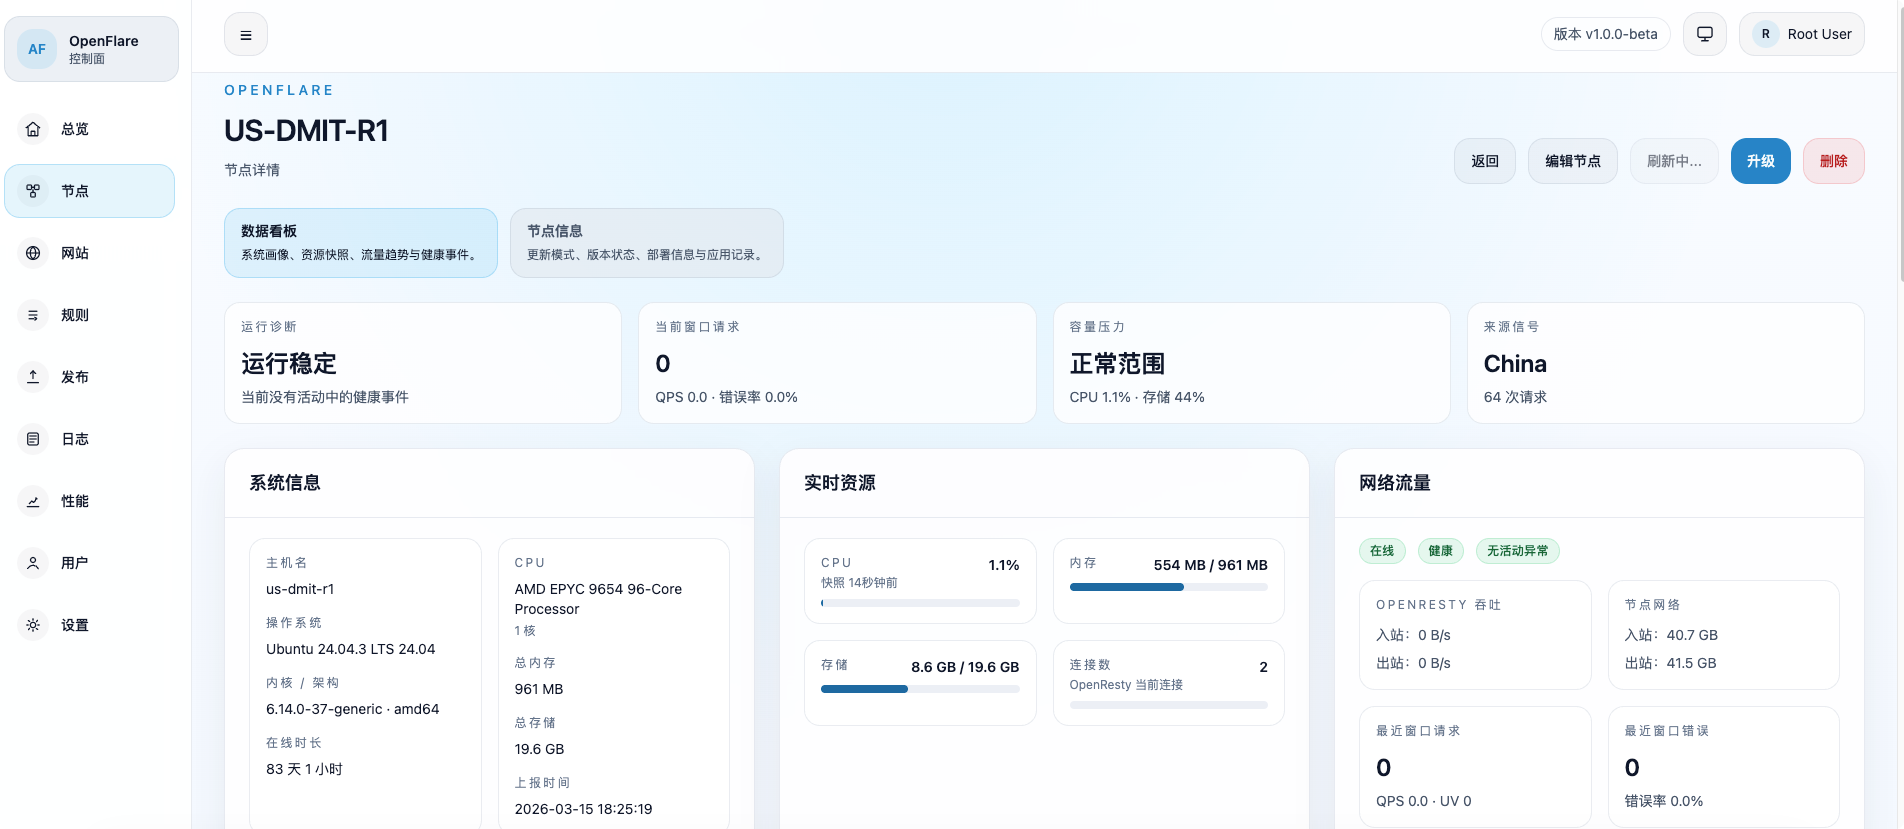
### Node Details
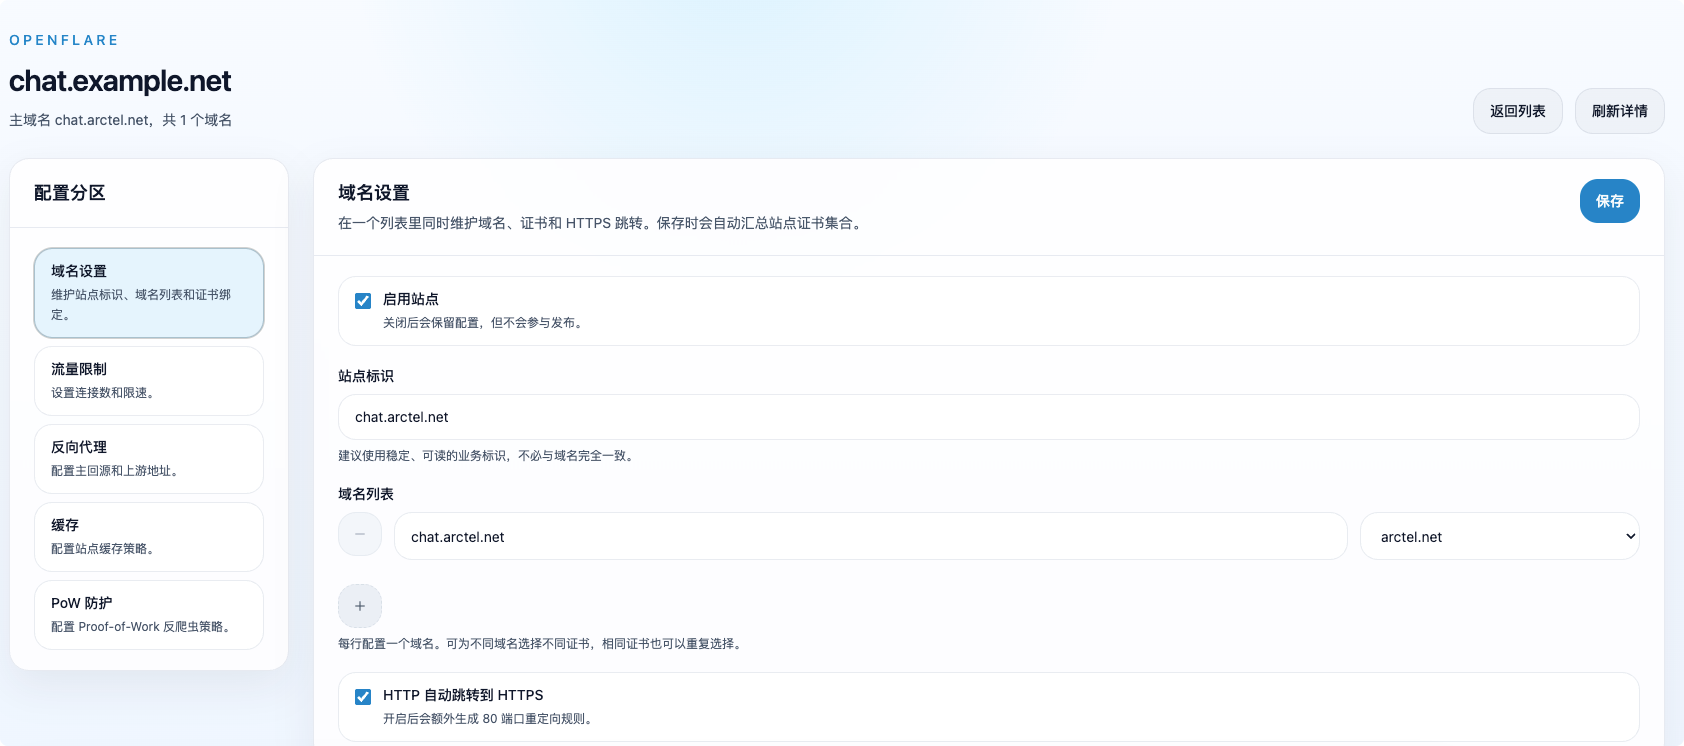
### Proxy Configuration
## Management Panel & API
The management panel includes:
* Reverse Proxy Rules
* Configuration Versions
* Node Management
* Application History
* TLS Certificates
* Domain Management
* WAF Rule Groups
* User Management
* Settings
* Version Updates
* POW Rules
After logging in to the dashboard, access Swagger UI at: `/swagger/index.html`
## License
This project is licensed under [Apache License 2.0](./LICENSE).
## Star History


