| .github/ISSUE_TEMPLATE | ||
| .jenkins | ||
| backend | ||
| doc | ||
| docker | ||
| frontend | ||
| scripts | ||
| test | ||
| .gitignore | ||
| .version | ||
| Jenkinsfile | ||
| LICENSE | ||
| README.md | ||
Nginx Proxy Manager
This project comes as a pre-built docker image that enables you to easily forward to your websites running at home or otherwise, including free SSL, without having to know too much about Nginx or Letsencrypt.
Project Goal
I created this project to fill a personal need to provide users with a easy way to accomplish reverse proxying hosts with SSL termination and it had to be so easy that a monkey could do it. This goal hasn't changed. While there might be advanced options they are optional and the project should be as simple as possible so that the barrier for entry here is low.
Features
- Beautiful and Secure Admin Interface based on Tabler
- Easily create forwarding domains, redirections, streams and 404 hosts without knowing anything about Nginx
- Free SSL using Let's Encrypt or provide your own custom SSL certificates
- Access Lists and basic HTTP Authentication for your hosts
- Advanced Nginx configuration available for super users
- User management, permissions and audit log
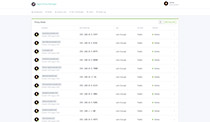
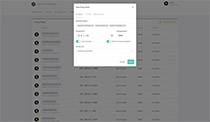
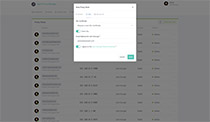
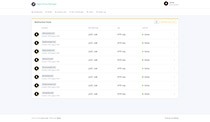
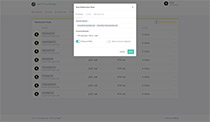
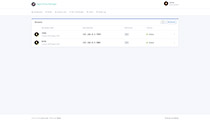
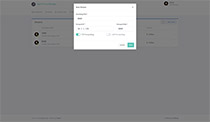
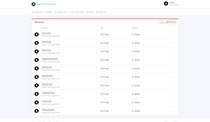
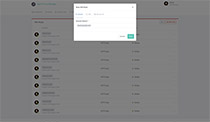
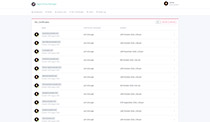
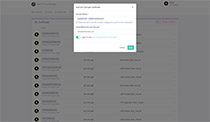
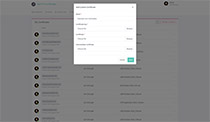
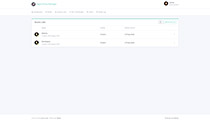
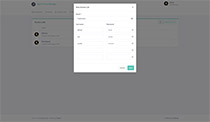
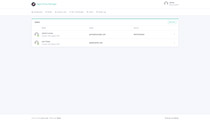
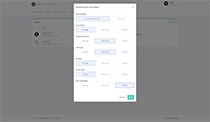
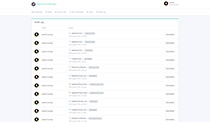
Screenshots
Getting started
Please consult the installation instructions for a complete guide or
if you just want to get up and running in the quickest time possible, grab all the files in the doc/example/ folder and run docker-compose up -d
Administration
When your docker container is running, connect to it on port 81 for the admin interface.
Note: Requesting SSL Certificates won't work until this project is accessible from the outside world, as explained below.
Default Administrator User
Email:    admin@example.com
Password: changeme
Immediately after logging in with this default user you will be asked to modify your details and change your password.
Hosting your home network
I won't go in to too much detail here but here are the basics for someone new to this self-hosted world.
- Your home router will have a Port Forwarding section somewhere. Log in and find it
- Add port forwarding for port 80 and 443 to the server hosting this project
- Configure your domain name details to point to your home, either with a static ip or a service like DuckDNS or Amazon Route53
- Use the Nginx Proxy Manager as your gateway to forward to your other web based services
Nginx Proxy Manager in the wild
As this software gains popularity it's common to see it integrated with other platforms. Please be aware that unless specifically mentioned in the documenation of those integrations, they are not supported by me and any donation links on the pages of those integrations will not come to me even though it looks like it.
Known integrations:


